Learning Objective #1:
Learn about the key components for hosting a successful community event that shares results and promotes taking action
Communities we have collaborated with have found scheduling a community launch event, sometimes called a ‘Community Conversation’ was a successful way to build commitment to work on the recommendations from the report among stakeholders.
At these events, interested community members discuss the results and recommendations from the Community Nutrition Report Card and begin to develop the action steps toward creating healthier food environments.
What really stuck with one of the people on their school nutrition team was that healthy foods are more expensive than unhealthy foods. And so, quite soon after the Community Conversation—I feel like it was the next week—they started subsidizing their fruit and vegetable trays. They reduced the price from $2.50 to $1 and they saw like a huge increase in sales… and they just decided to do it on their own. We met with them before about making some changes, so they were definitely ready to make changes. But then, after seeing the report, I guess it was that one that they thought “well we have the nutrition program money” so they decided to subsidize fruits and vegetables.
If you choose to organize a community launch event, we recommend:
- Inviting a broad range of community stakeholders, including representatives from each setting of interest, the local government, the local media, and other interested community members (parents, coaches, students, etc.).
- Limiting the event to a maximum of two hours. In the past, we found it beneficial to use the first hour to present the results and recommendations and the second hour to engage community members in planning the next steps. You could plan for additional meetings if there’s interest.
- If you want to promote the event widely, consider using social media, email listservs, community posters (see Module 6), and the template Here.
- Provide a healthy lunch or snack depending on time of day and incorporate stretch breaks. This helps to role model what healthy community events are like.
Here is an example of a typical Agenda:
- Introductions
- Background [when project started, accomplishments to date]
- Community Nutrition Report Card -Findings
- Short Break
- Reflecting on the results
[Questions: Was there anything that surprised you about the results? Or didn’t surprise you? Thinking of both your individual self and your role in the community, is there anything you think you can take action on? What are the things you are interested in working on and how can we do it? What is important? What is achievable? If you could pick one task that our community would benefit from most, what would it be?] - Next steps together
Tips for Sharing Results and Recommendations
You don’t need to present every detail from your Community Nutrition Report Card! We recommend that you consider your audience and present the most relevant key findings. To make the presentation more engaging, consider creating a PowerPoint with graphics and images that incorporate the key findings.
If you have a broad range of stakeholders (e.g. from schools, recreation centres, etc.) attending the launch, consider presenting the general findings for each setting. If you have stakeholders from one setting (e.g. only school representatives), consider sharing more detailed findings for this setting.
If possible, we recommend that you provide a printed copy of the Community Nutrition Report Card or Infographic to each attendee. This helps them follow along with the presentation and discussion.
Tips for Facilitating Discussion and Planning Next Steps
To facilitate discussion and engage community members in planning future actions, we recommend doing a group activity.
You will need:
- Pens
- Sticky note pads
- Flip chart paper
- Markers
- Colour dot stickers (any colour)
Questions for Reflection
Part 1. Reflect on your Community Nutrition Report Card results and recommendations together as a large group (or split into groups of 5 or 6 if preferred).
- What results surprised you?
- What results and recommendations interest you?
Have one person facilitate the discussion and one person record ideas on the flip chart.
Part 2. Brainstorm and prioritize recommendations.
- Step 1. Provide time for each participant to reflect on the results on their own
- Step 2. The facilitator asks participants to identify the recommendations that could be quick wins. Have them write out each recommendation out on a separate sticky note. Ask them to put their sticky notes on the wall when they are finished.
- Step 3. The facilitator reads out each recommendation and works with the group to organize them into categories or themes. E.g. by setting or types of action. Participants are free to say their ideas for categories and the facilitator posts them on a sticky note.
- Step 4. Provide each participant with 3 coloured dot stickers. Invite participants to go up to the wall and read the sticky notes. Ask them to vote on the top 3 recommendations that could most benefit the community by putting a dot sticker on it. This facilitation method is called ‘Dotmocracy’.
- Step 5. The facilitator reads recommendations that have the most votes out loud.
- Step 6. Have a discussion as a large group to make a concrete plan for next steps.
Example questions:
-
- What possible actions can we take towards meeting the recommendation?
- Is anyone in the group today able to act on recommendations now? (e.g. posting healthy eating signs)?
- Who else is needed to achieve this improvement? If they are not at the meeting today, how can we engage them in taking action?
- What resources do we need to make the changes?
If possible, at the end of the session:
- Identify the actions that each person in the group can take and the timeline for starting and/or completing these actions.
- Consider forming sub-working groups to continue to meet and focus on achieving specific recommendations.
- Decide on dates for follow up meetings to keep the momentum going!
Tips for virtual meetings
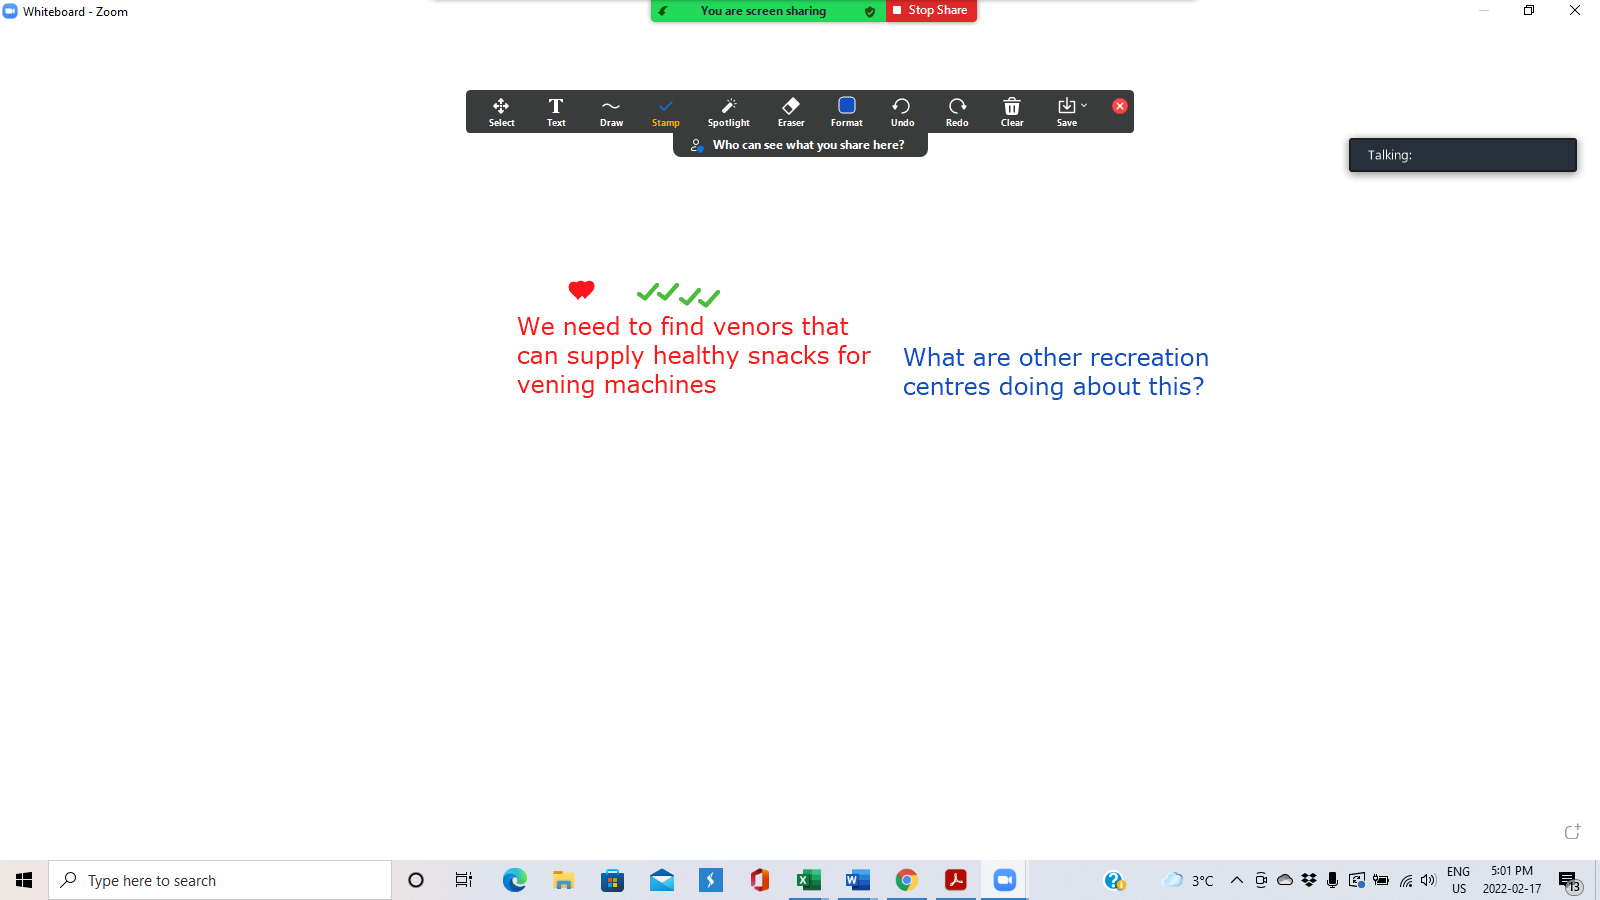
If you are meeting via Zoom, the Whiteboard feature can be used to engage participants. If using this feature, give participants lots of time, not rushing through to ensure people have time type in responses.
- To access the Whiteboard feature, click on ‘View Options’ then press on ‘Annotate’, then click on ‘Text Feature’ and participants can begin to type in their comments for the whole group to see in real time
- Tips:
- Participants can move their text boxes around if other text boxes are too close;
- Remind participants not to type over other peoples texts
- Help participants to figure out the annotate feature by reiterating the above step by step instructions multiple times if necessary
Tools and resources
- ANGEL-CD (Analysis Grid for Environments Linked to Chronic Disease) is a model that helps to engage key community representatives and determines the most effective ways to prevent chronic disease by building community capacity.
- See step 4: Merge and prioritize (dot‐mocracy) for an engaging way to identify community priorities.
- See step 5: Develop an action plan to plan next steps as a community.