Learning Objective 2:
Using the app to collect local data
Step 1: Go to the Play Store or Apple Store and download the Benchmarking Food Environments app and follow the screenshots.
Step 2: After you have downloaded the Benchmarking Food Environments (BFE) app , create an account. This account information can be shared amongst your team collecting data, so that everyone can access the Account for your community:
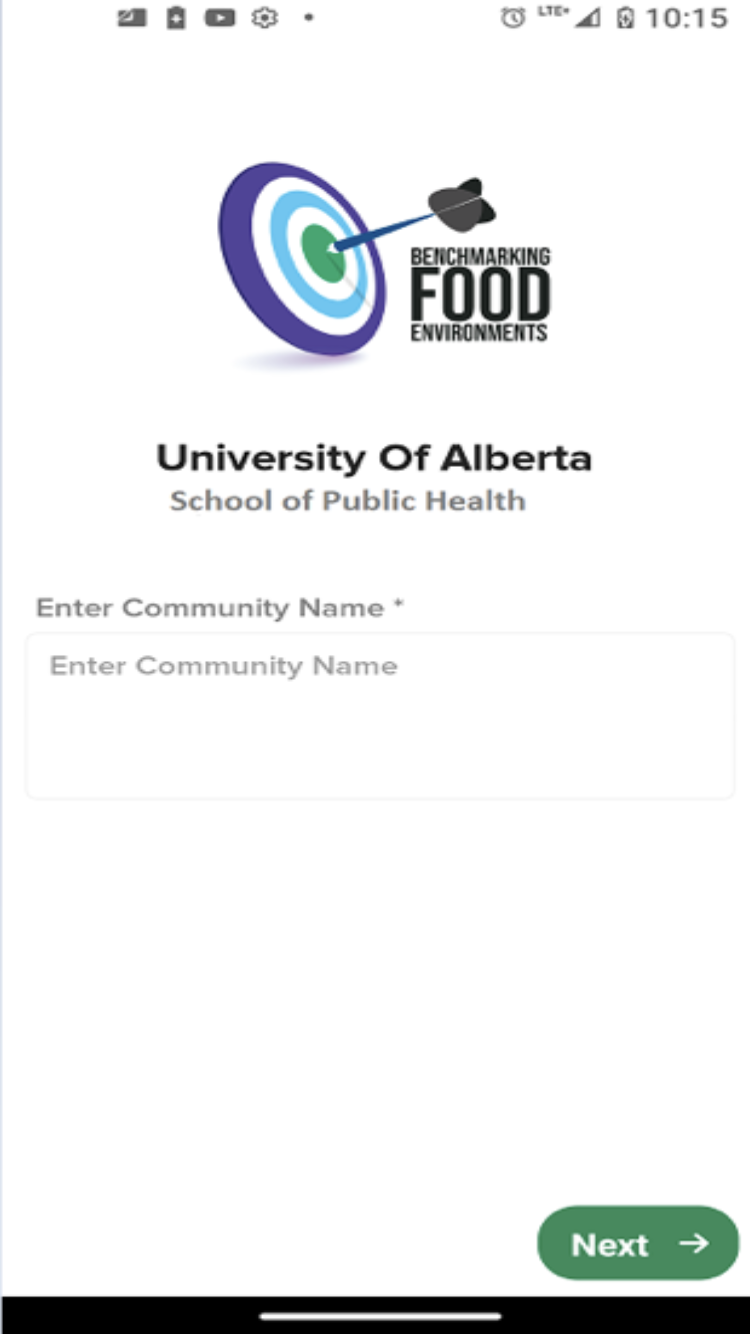
Step 3: Enter your Community Name.
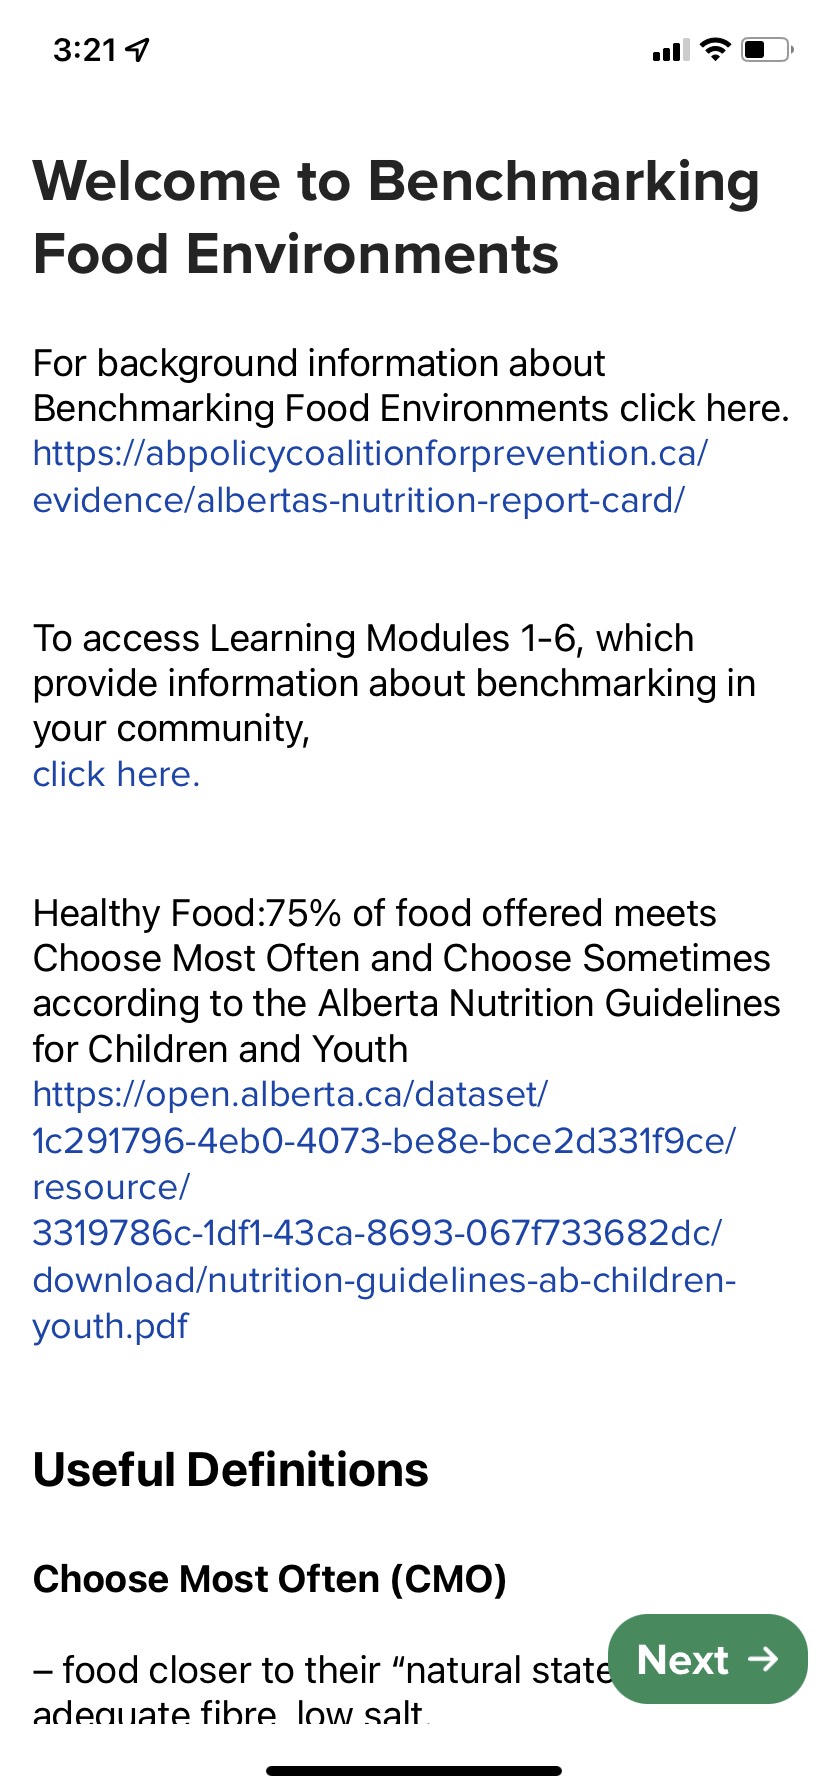
Step 4: Review the Welcome page for background information, links to the Learning Modules, and useful definitions used throughout the BFE app.
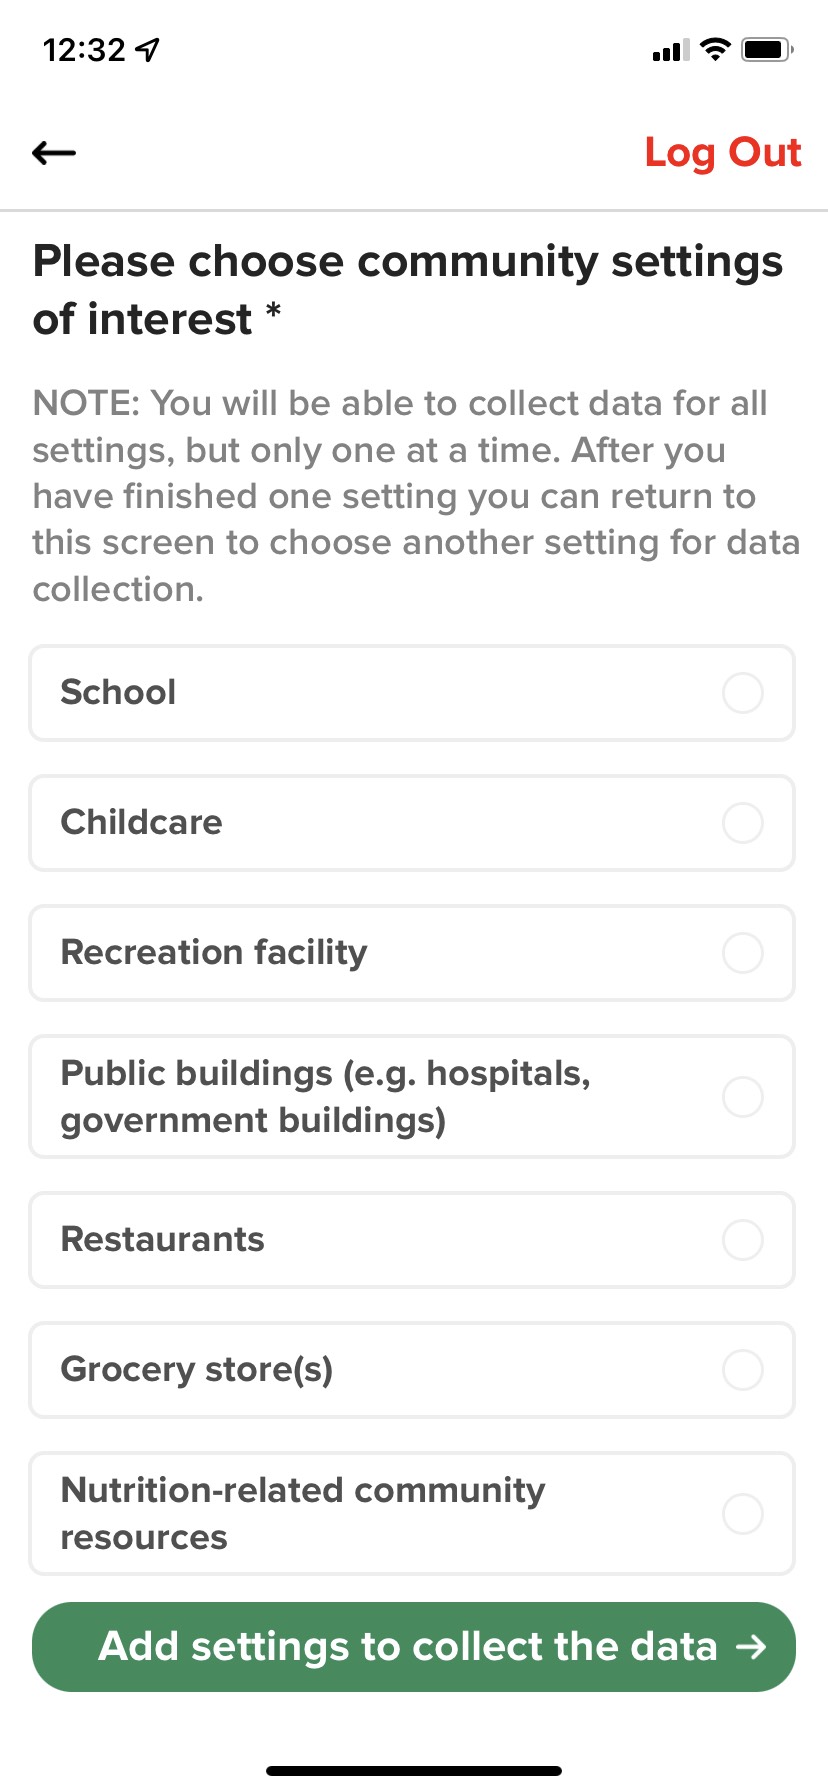
Step 5: Choose community settings of interest. Then press ‘Add settings to collect the data’.
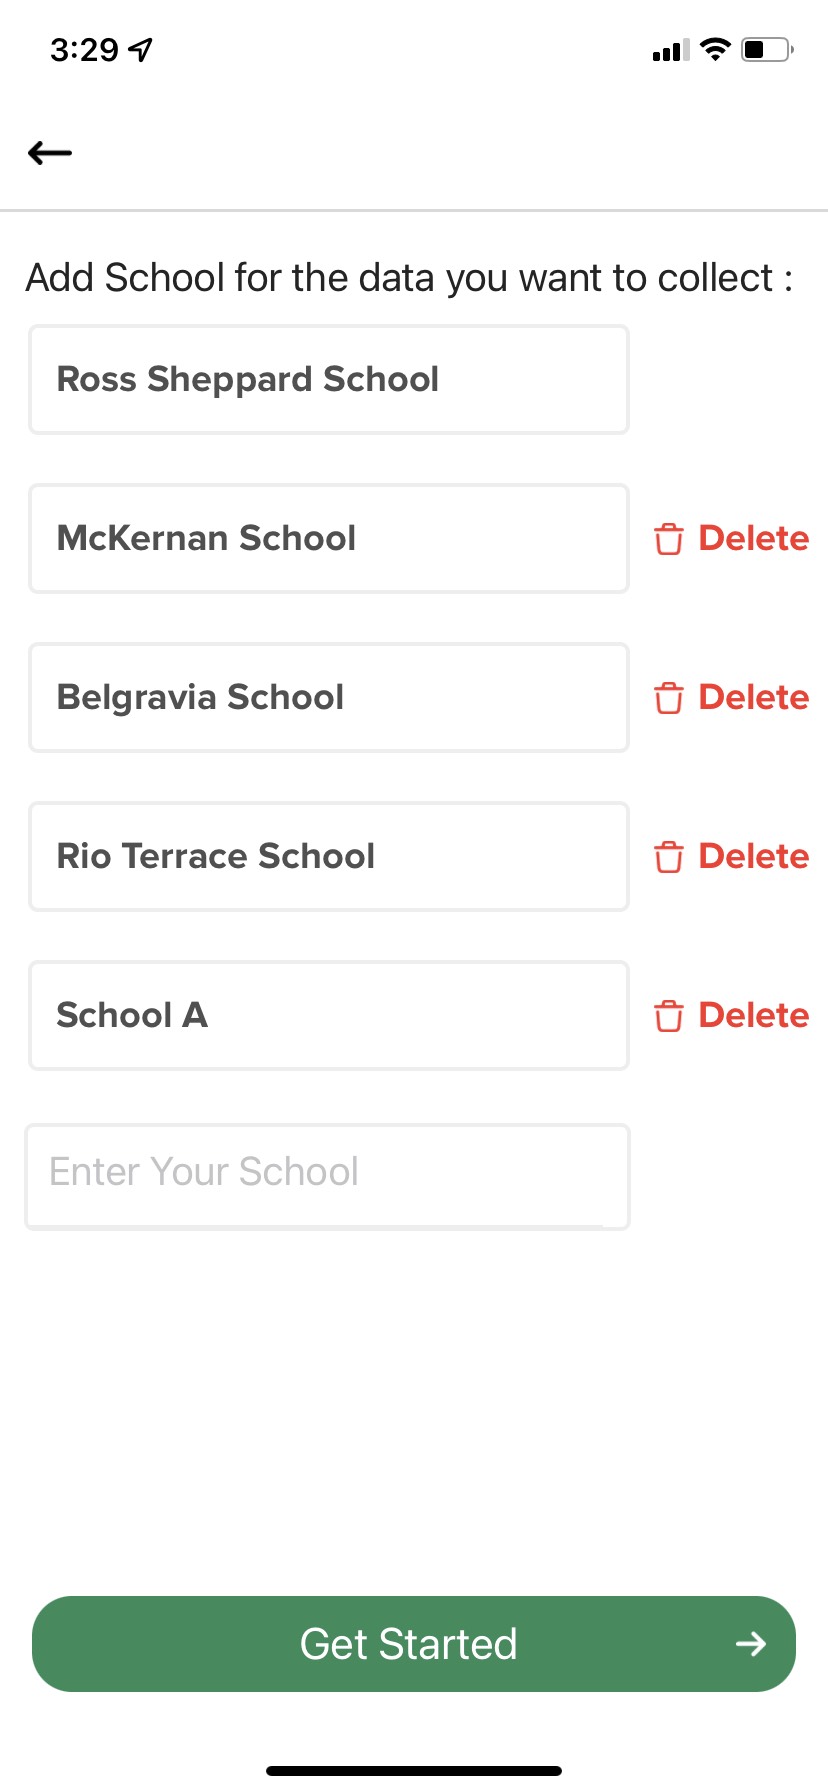
Step 6: The next screen shows that data collection is required for the selected Setting, in this case Schools. Either select or type in the Name of the School (note: if the community stakeholders have decided to keep schools anonymous, enter ‘School A’ for example, then make a note of which school is School A, School B and so on). Then press ‘Add’ and then ‘Get Started’ to begin data collection.
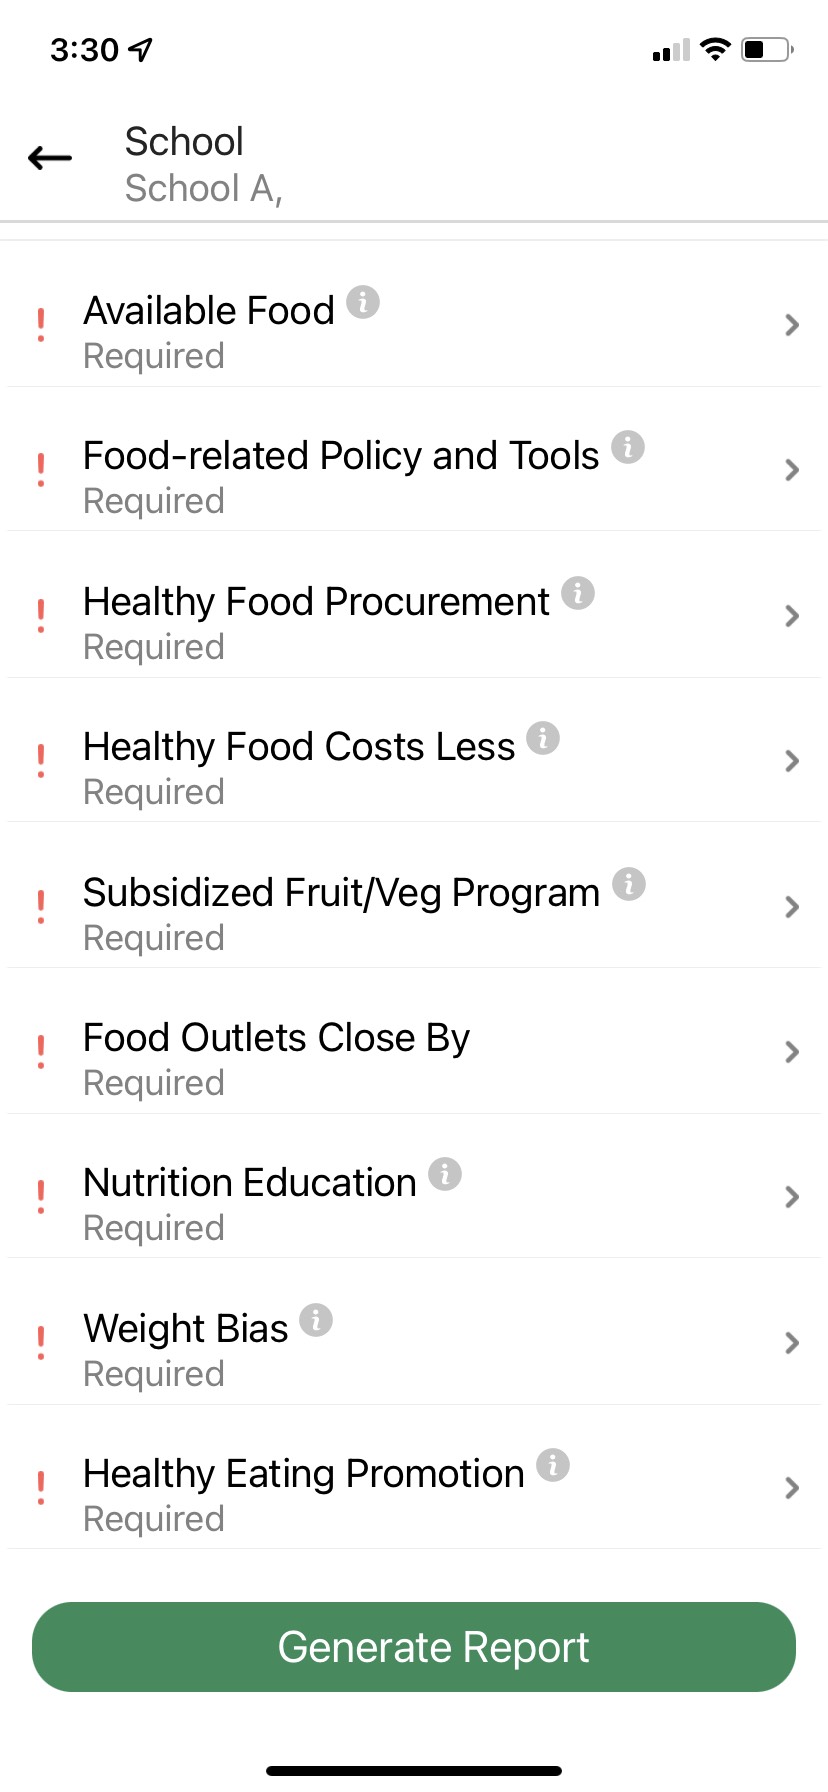
Step 7: The next screen indicates the areas that require data collection. Click on ‘Available Food’ to start the data collection.
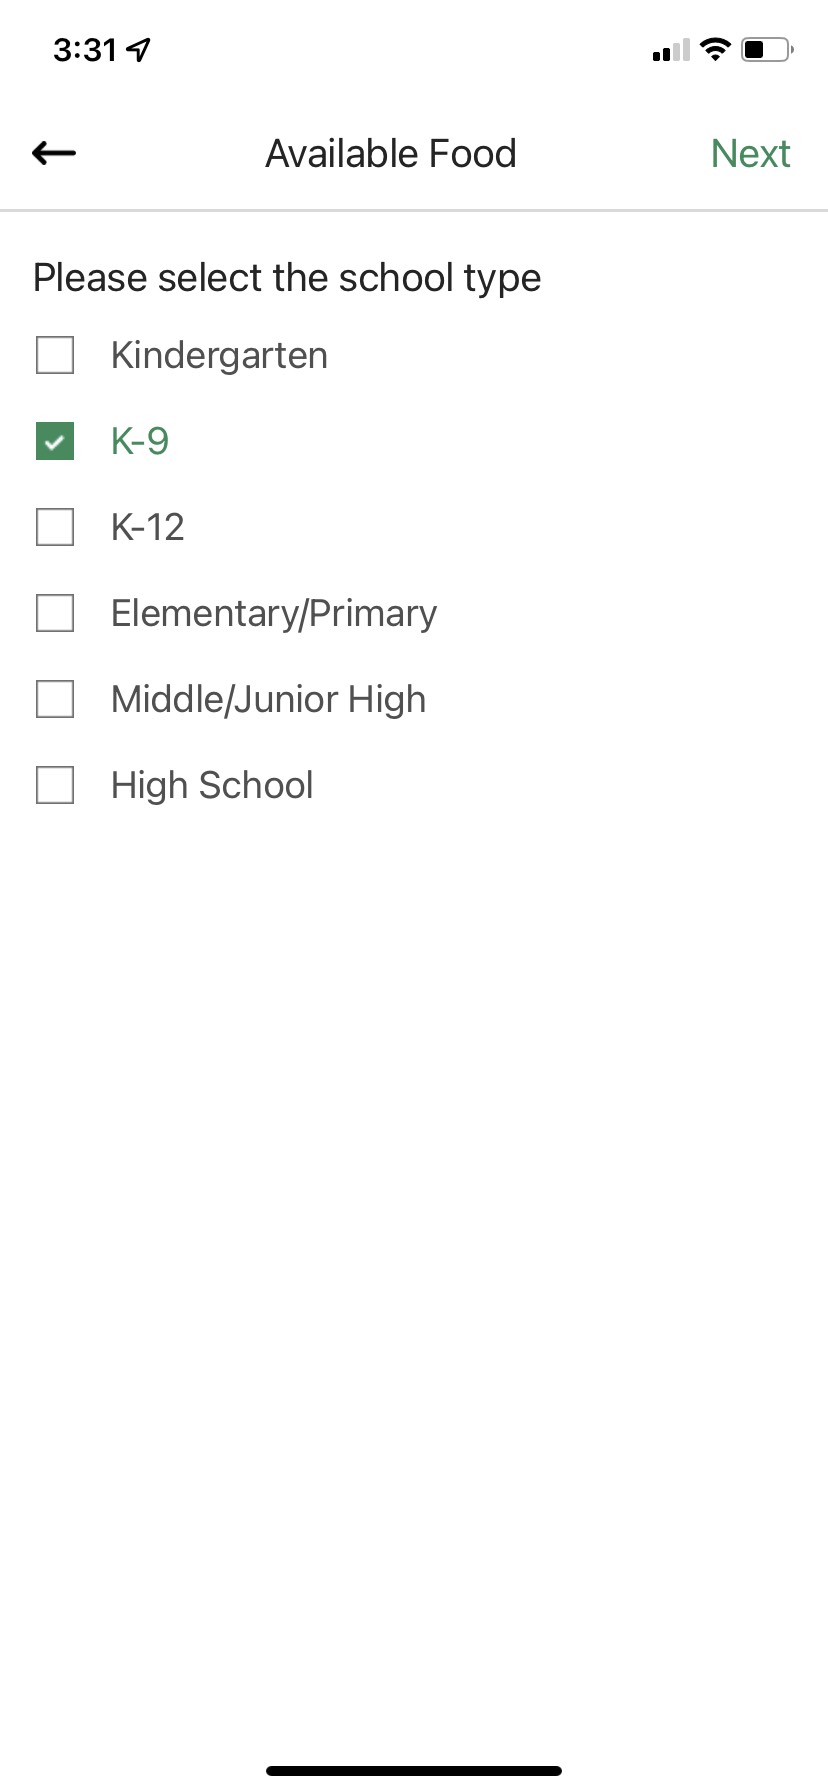
Step 8: Select the School Type and press ‘Next’.
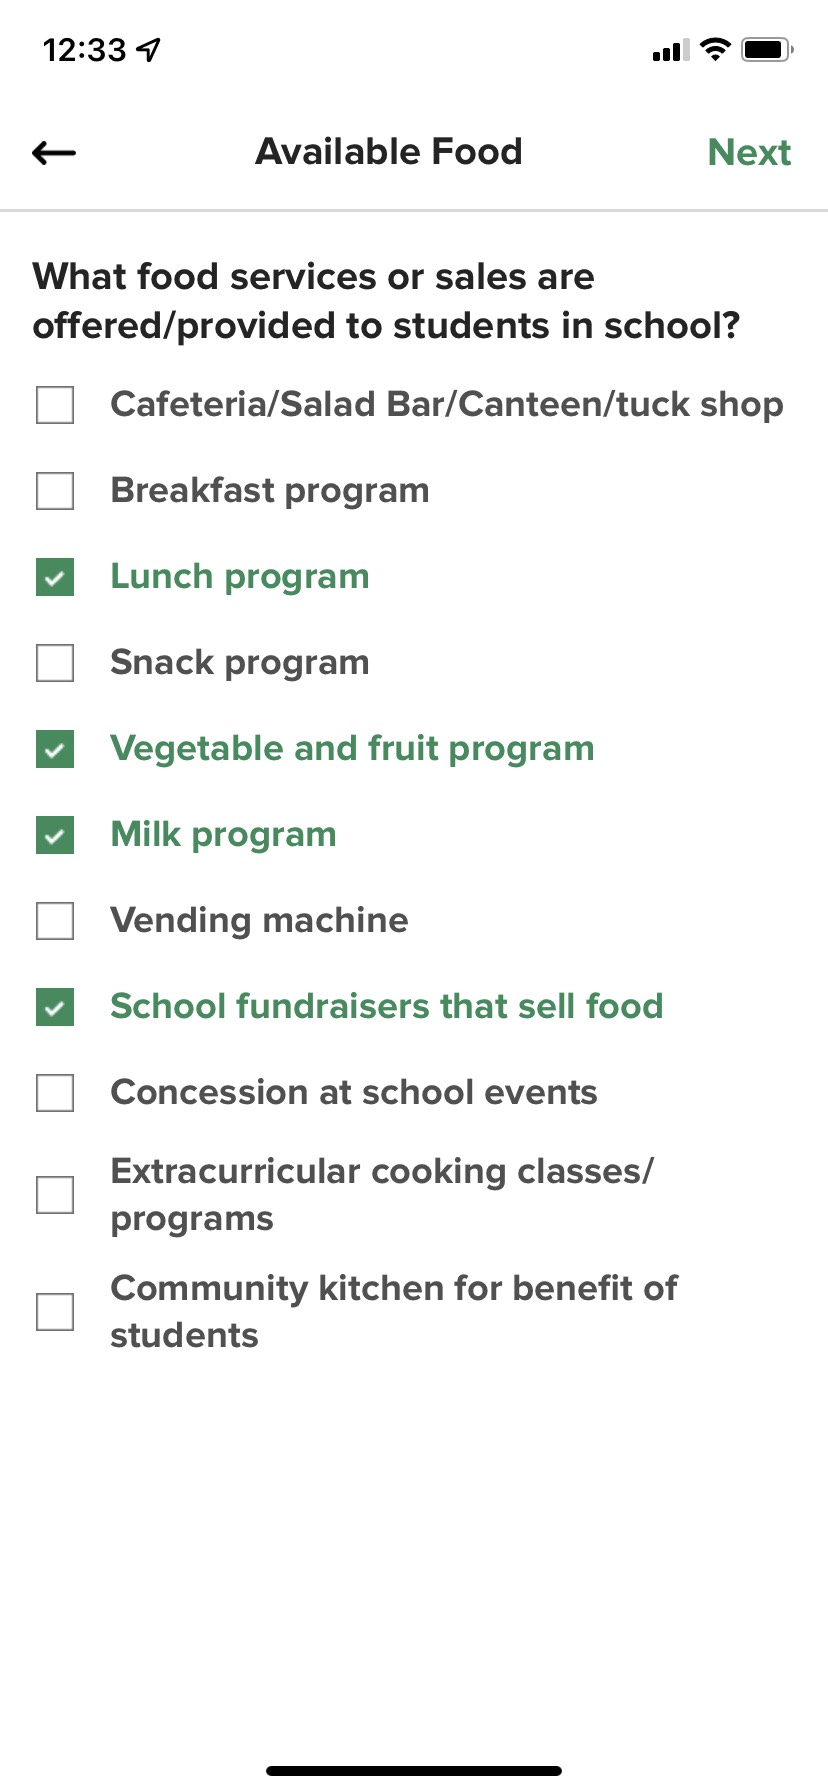
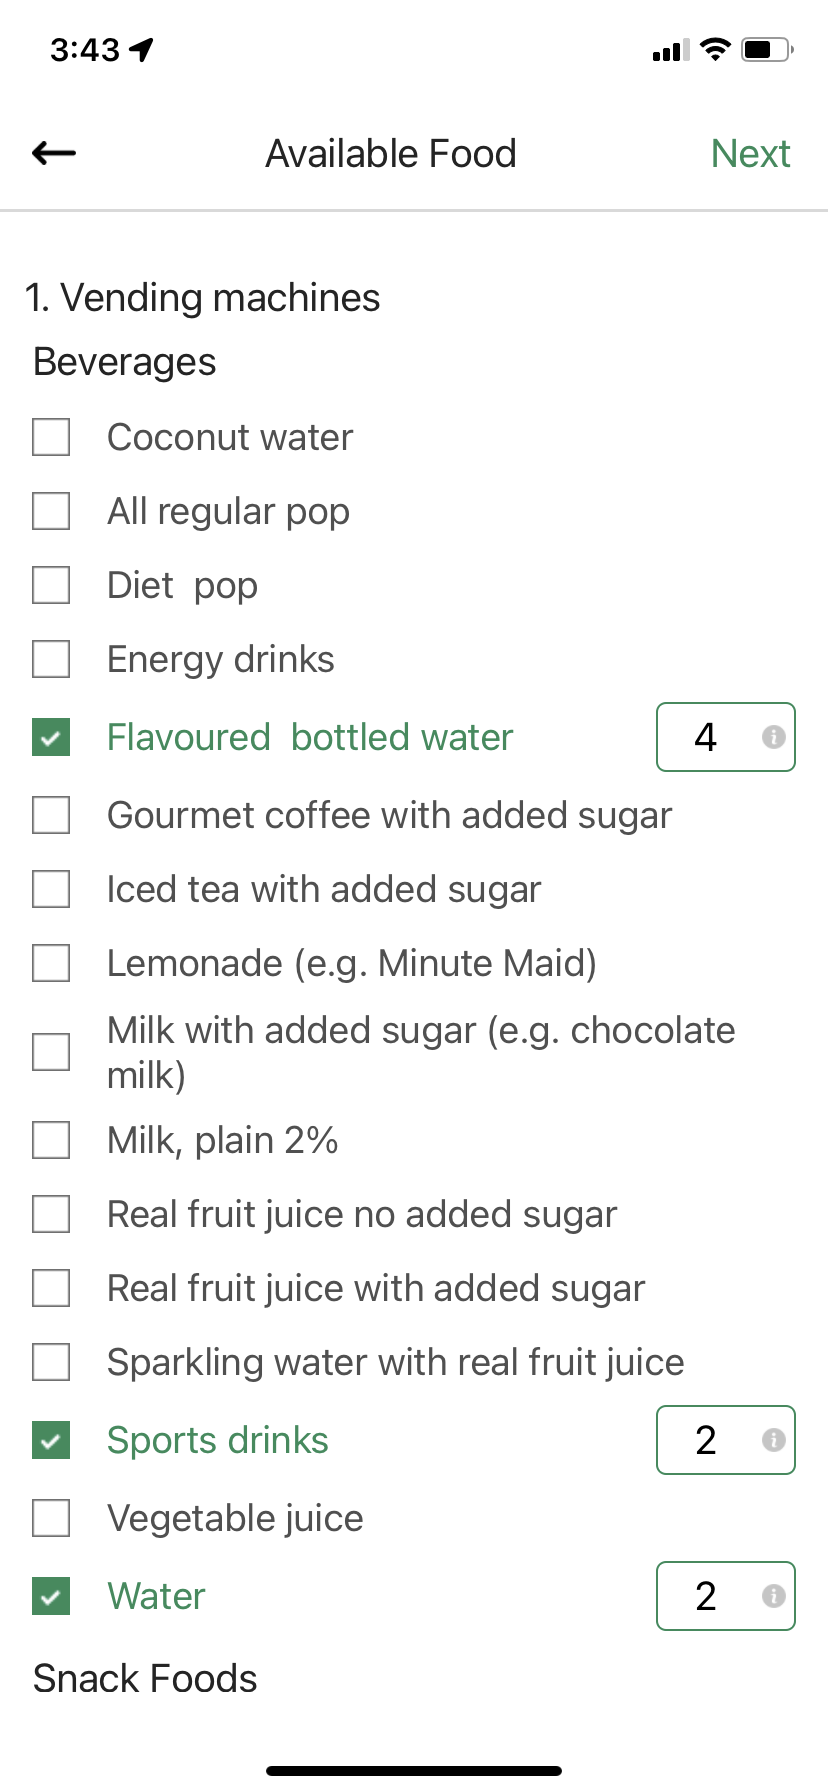
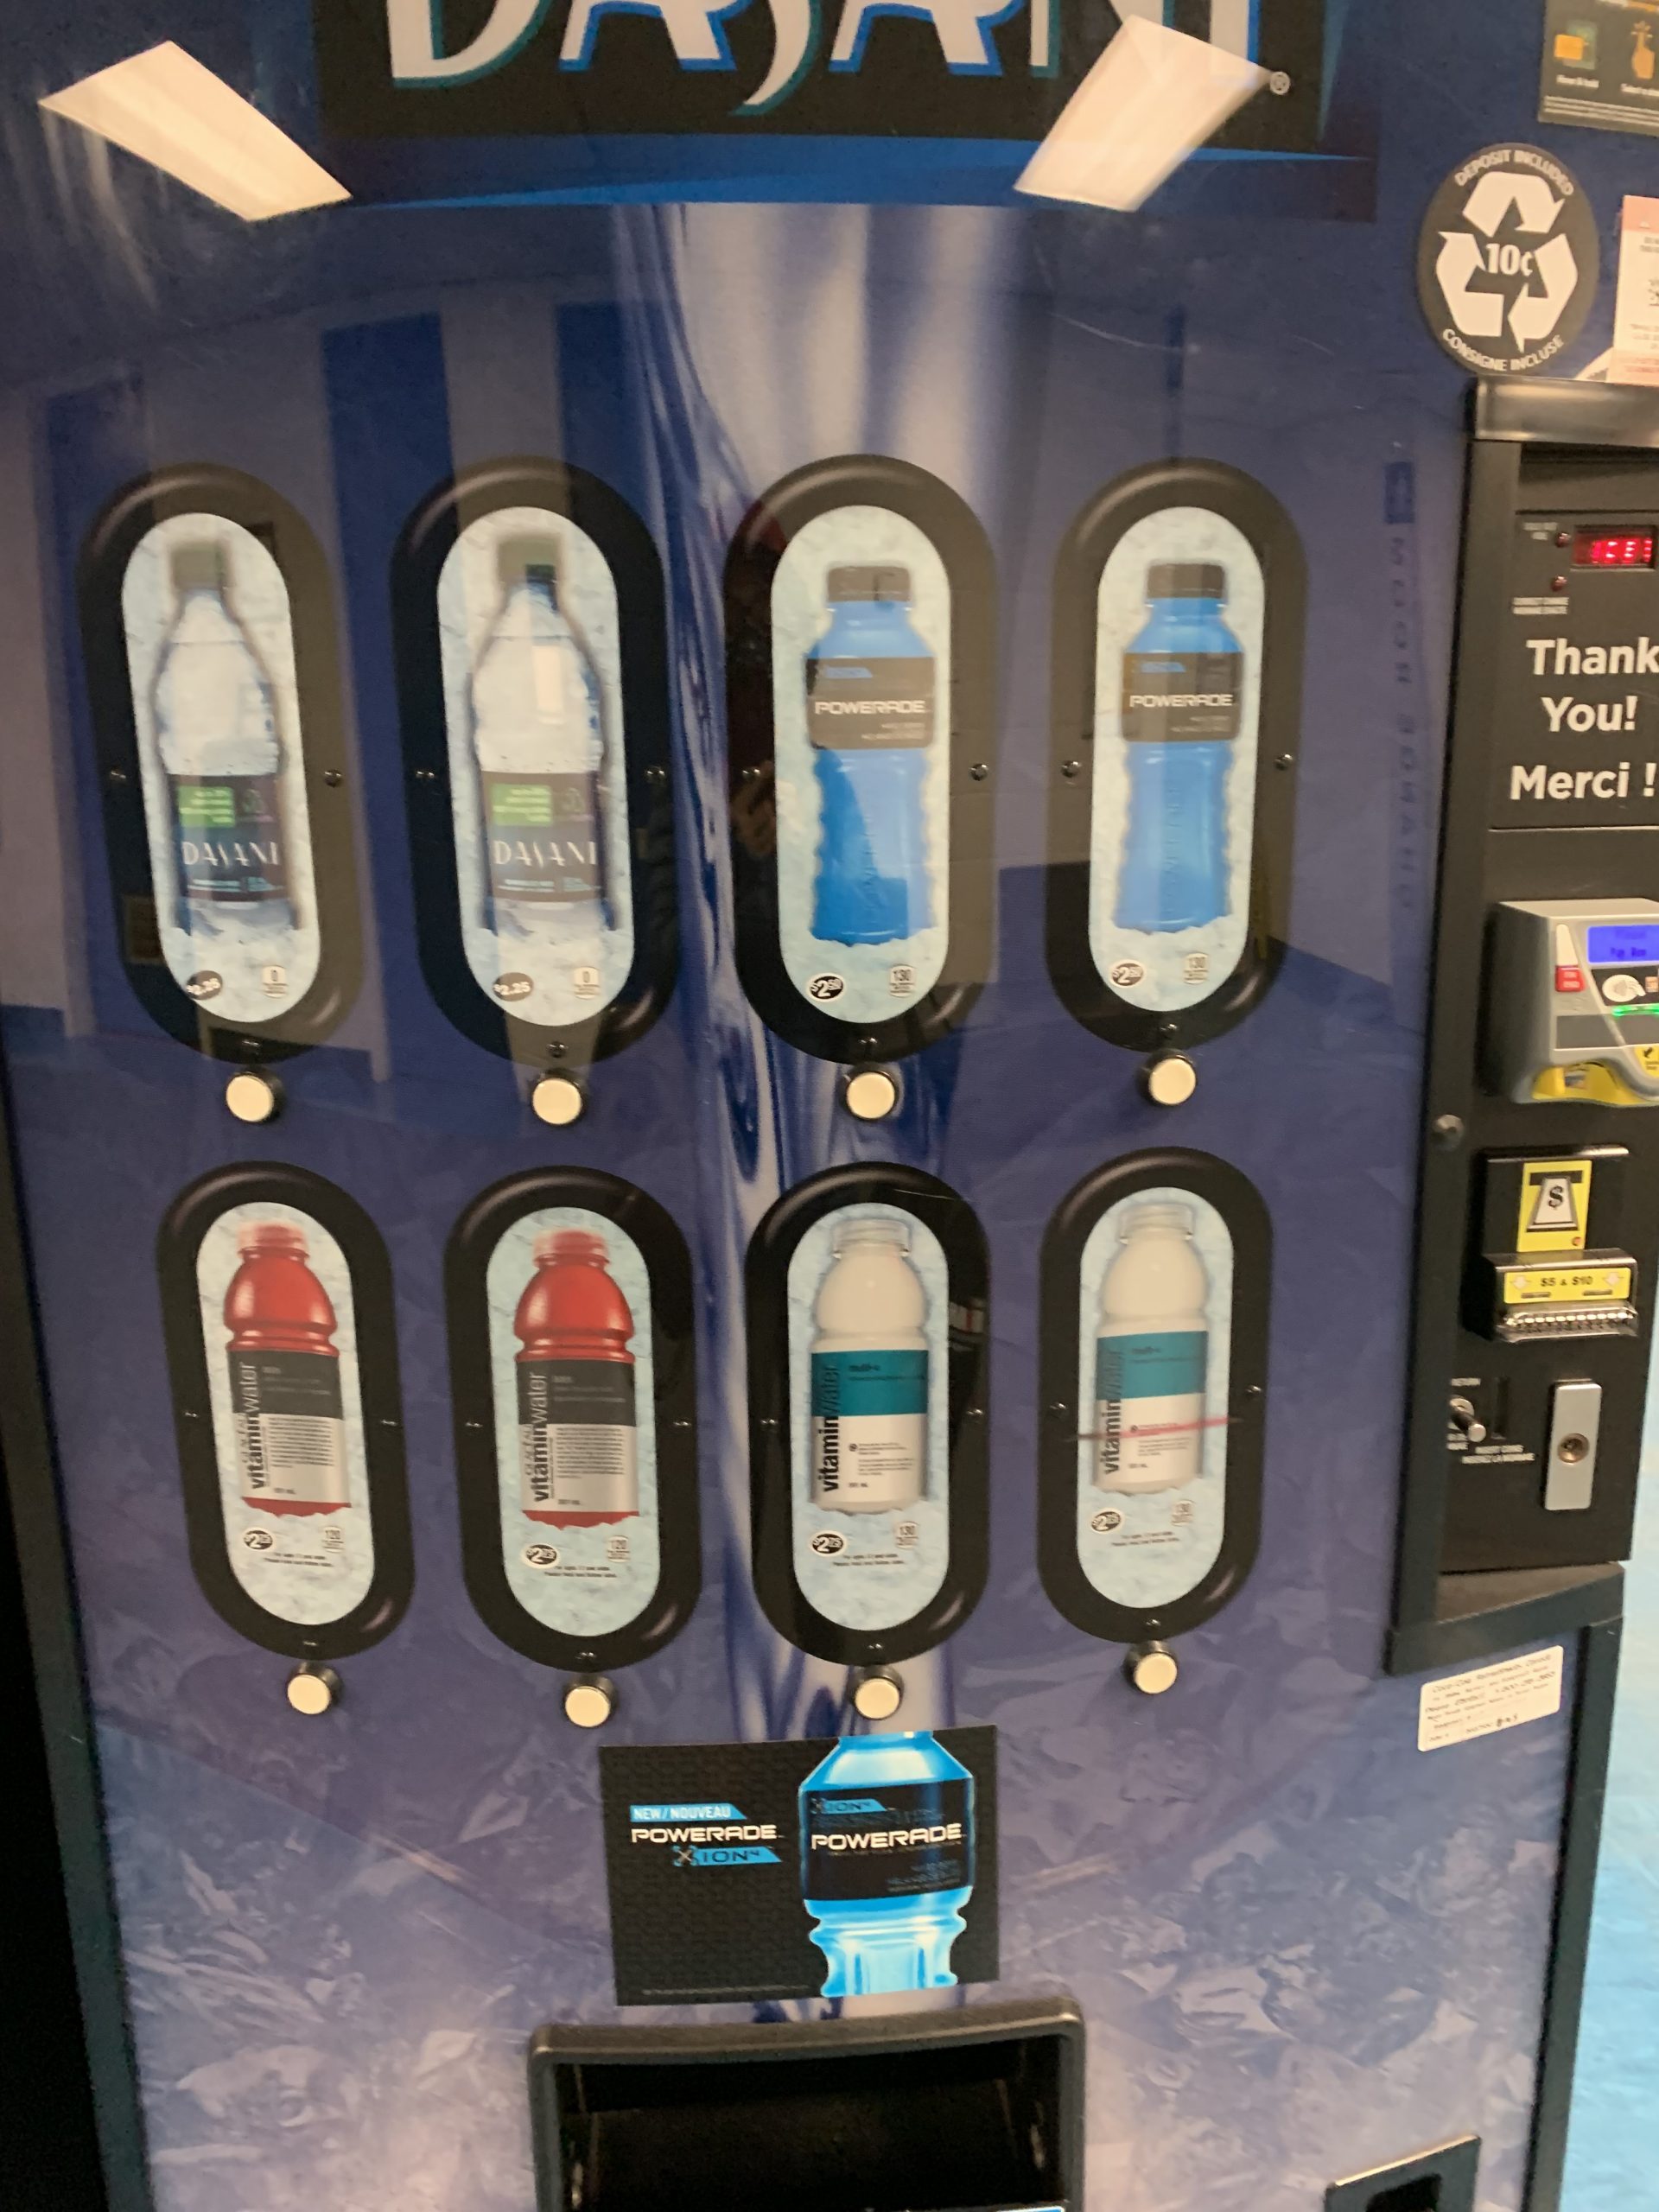
Step 9: Then select the types of food services available in the School and press ‘Next’.
Step 10: Then select the type of food items available and the number of occurrences. For example, in the beverage vending machine pictured, there are 2 occurrences of “water”, 2 occurrences of “Sports drink” and 4 occurrences of Flavoured bottled water
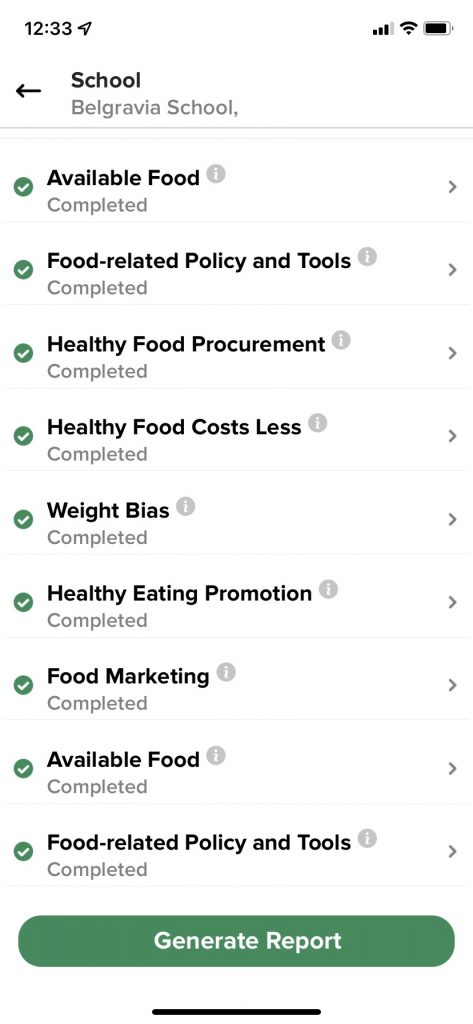
Step 11: Work through the remaining questions, then each subsequent section until all areas have the green checkmark, see below. Next you can press ‘Generate Report’ to see how each school scored.
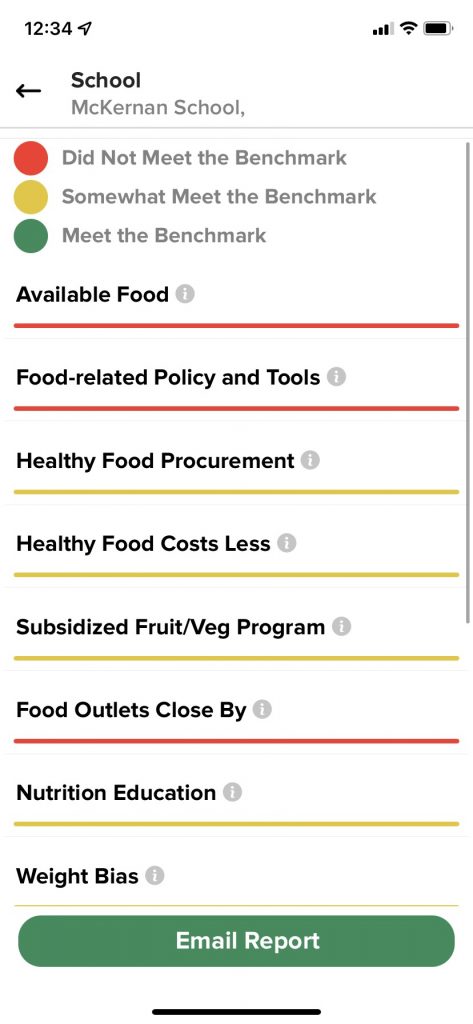
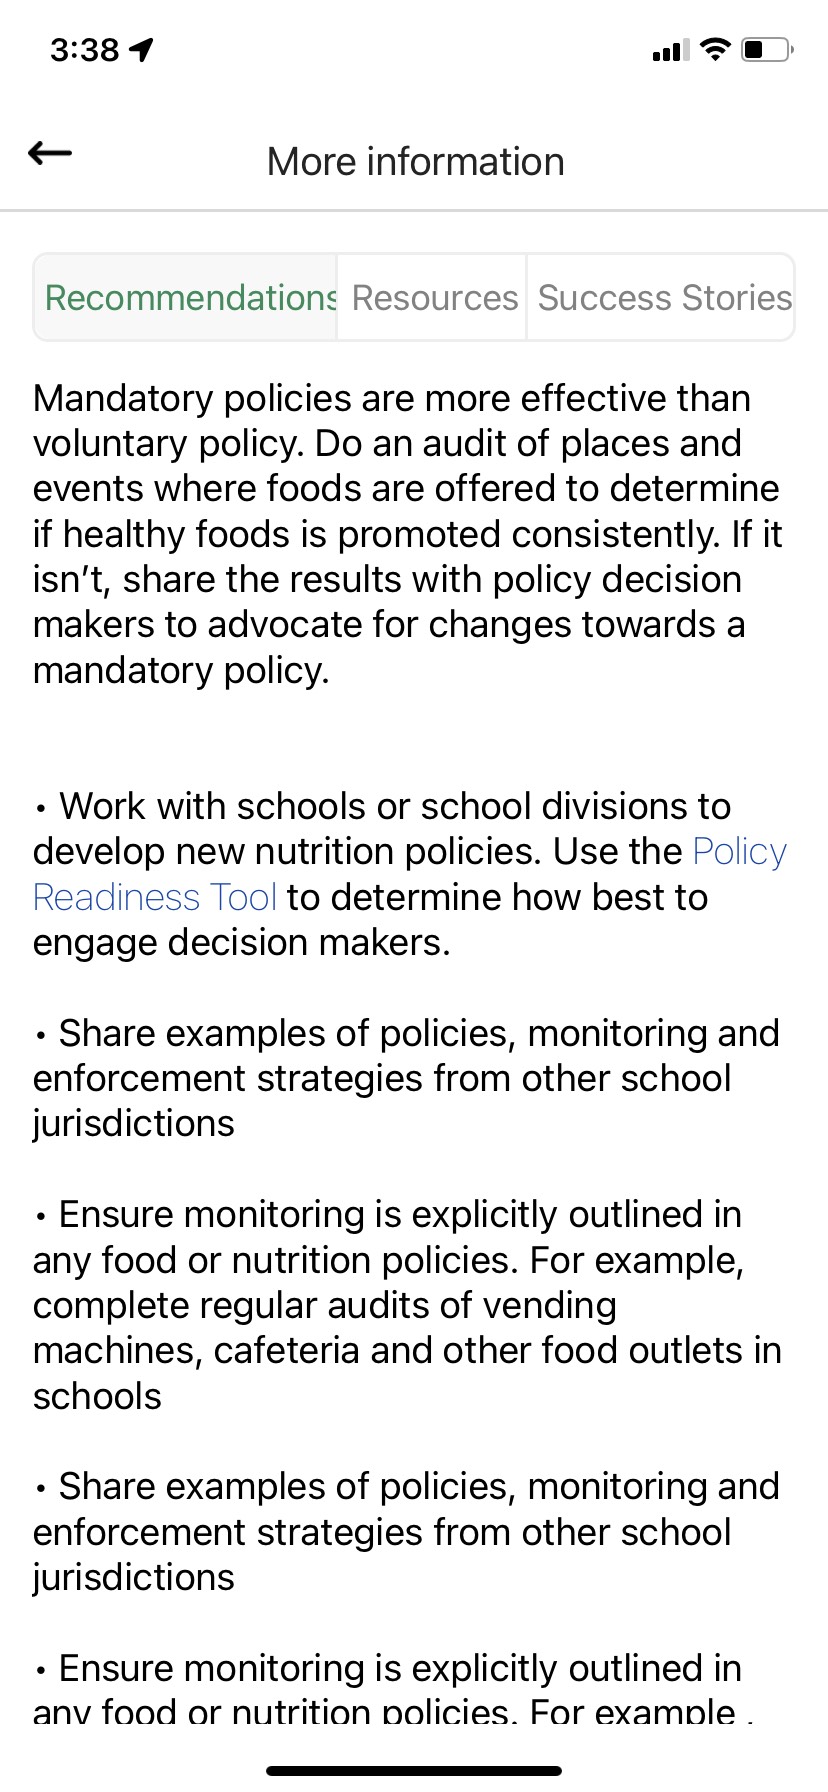
Step 12: Using the info buttons for each School and indicator, you will find the relevant Recommendations, Resources and Success Stories.
Step 13: If there are more schools and other settings, you may add them next going through the same process and then ‘Generate a Report’ (note: the entire Report will be emailed to the Account’s email address as a pdf as well).